We use cookies to make your experience better. To comply with the new e-Privacy directive, we need to ask for your consent to set the cookies. Learn more.
Soil Warming/Heating Cables
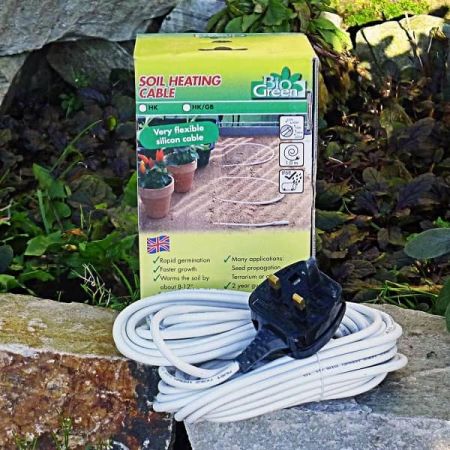
Soil warming cables for making your own heated propagator. Various lengths depending on the area required for propagation. With 3 pin plug. Can be used with our thermostat for extra control. Details below.
Soil Warming/Heating Cables
Early propagation requires a consistent soil temperature of 12ºC to 16ºC. Germination and root development are very slow below these temperature levels. With this range of flexible silicone covered electric soil warming cable it is easy to build a simple effective propagator. The cables are ready to use with an Irish plug. They can be plugged into a thermostat for complete temperature control. Made in Europe.
Cable lengths available:
- 6m long - 50W - covers 0.8 - 1.0m²
- 10m long - 100W - covers 1.6 - 2.0m²
- 25m long - 320W - covers 3.0 - 4.0m²
Making a Propagation Box with Heating Cable
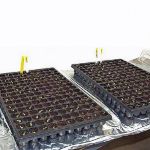
The size of the box will be determined by the area that your cable will heat as outlined above. Keep in mind the size of the propagation trays you will use when determining the width and length of the box. Locate the box in a tunnel, greenhouse or outbuilding with plenty of daylight.
Material required:
- Plywood 18mm (e.g. 1 or 2 sheets 244cm x 122cm).
- Narrow timber for sides of box.
- Chipboard screws 4x40mm.
- Aeroboard 15mm to 25mm (or similar)
- Strong plastic sheet to line the box
- 1 wheelbarrow of dry, course, washed sand.
Construction:
Cut out plywood for base according to the required dimensions. The sides of the box should be high enough to allow for the thickness of insulating board and sand being used plus around 25mm extra for a lip. Screw base and sides together. Place aeroboard on the bottom of the box. Glue/nail aeroboard pieces on the sides of the box to protection against heat losses. Now line the box with tunnel plastic or similar strong plastic. This protects the timber from the moisture of the sand. Put box in its final location.
Filling:
Fill a 2.5cm (1”) thick layer of dry sand into the box and level it. Drill a hole into the wall of the box nearest to a socket. The hole should be big enough to feed the heating cable through. Stick the complete cable from outside through the hole. Now run the cable over the sand in such way that it is evenly distributed over the whole area. The cable could be plugged in immediately before this to make it soft and pliable. Fill another 1-1.5cm of sand over the cable or as much is needed to cover the cable. It should not be buried too deep. Level the sand carefully to achieve a smooth surface. The heat will be distributed through the sand. When the propagator is in use keep the sand always moist (not wet).
Thermostat:
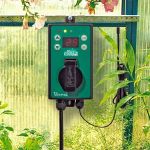
To avoid overheating (e.g. additional heat due to sunshine) and electricity waste, a thermostat can be used to regulate the temperature. Fix Thermostat at/near propagation box. Stick tip of sensor into the soil of one propagation tray. Now you are ready to control the heating cable via the thermostat. In order to protect the plants in the propagator from night frost lids could be made up. Make several frames of timber large enough to cover the box. Staple bubble film onto the frames. This leaves some light through but reduces the danger of frost damage.
Tip: It is highly recommended to install a light source directly over the propagation box. Often propagation takes place in short days where there are not enough natural light hours to achieve healthy plant growth. With the help of a LED grow light and a plug-in timer the plants can be exposed to additional light hours. This will reduce the danger of ‘legginess’.


