Success with Seeds & Germination
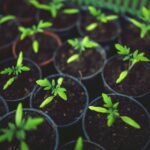
Success with Seeds & Germination
Following a bit of posthumous string pulling to get us a day off work, St. Brigid has now pulled her shawl from under the feet of winter. We’re all buying seeds and itching to go out in the garden. The following considerations should help you get the best success with them.
Timing
The first thing to ask yourself is: am I too early? It’ll be tempting to tear open a few seed packets once we get a warm day or two in the coming month. However, cold weather will snap back and seedlings might have nowhere to go. It often takes new gardeners a few years of enthusiastic false starts before the required discipline is garnered. There’s also nothing like watching a crop you’ve sown weeks later catch up and even outperform it’s head-started friend to make you more restrained at this time of the year. Crops which get shocked too much early on often continue on with impeded vigour.
The sowing dates on packets are obviously a good indication, however, the information on many seed packets are printed in a European or UK context so may not apply so well in Ireland. The sowing dates on our product pages are suitable for Ireland and you can even filter for seed by sowing month – though you need to check the specific crop variety to see if the month refers to indoor or outdoor sowing.
Storing Seeds & Life Expectancy
As you bide your time, it is worth making sure your seeds are stored properly until needed. The same storage principles will apply to any left over seed that you want to keep for following years. Seeds appear to be inert but are indeed living creatures with a lifespan. They degrade over time to a point where they will no longer germinate. Three things contribute to this degradation process, in order of importance they are: moisture, exposure to oxygen and high temperature. Many people are not aware that exposure to oxygen causes damage to seed through oxidation. So don’t forget to put your seeds in an airtight container or jar after you’ve been perusing them. Then stick said container in a cool, dark and dry place.
If you plan on using seed from last year, it is worth considering the expected lifespan of the seed of different crops. If they were stored in the above way, then the following is a good approximation of how long they will remain viable for.
1 year - chives, parsnips
2 years - onion, leeks, sweet corn, florence fennel, parsley, spinach
3 years - carrots, turnips, swede, celery
4 years - beans, peas, peppers, chard, watermelons, basil, radish, chicory
5 years - cabbage crops (Brassica oleraceaI), tomatoes, cucumbers, lettuce, pumpkins, squash, orache
If you are in doubt, it is worth doing a germination test on a few seeds to be sure they are viable. This could save you disappointment as it might be too late to source more seed and resow in time. An easy way to test some of your seed is to lay some out on a moist paper hand towel. Fold the paper on top of the seeds and place in a container or plastic bag somewhere warm like a hot press. Once the paper is kept moist the seeds should germinate in a week or two.
Conditions for Germination
To create the ideal conditions for germination give the seeds exactly what you’ve been depriving them of: moisture, exposure to oxygen and higher temperature
Water & Oxygen
Generally speaking the first thing a seed needs to grow is to be rehydrated. There are many exceptions such as those that need physical degradation of their coating, exposure to periods of cold or even passing through an animal’s gut. But these requirements are largely bred out of most common domesticated crops (or maybe these more complicated germination requirements spared some crops from domestication at all). Water causes the seed to swell and kicks off a complex set of chemical reactions in the seeds embryo. These biochemical processes require a lot of oxygen to release the energy that the seed has reserved. This is one reason a quality seed compost should be used. Good compost is formulated so that air can move through the compost whilst it still retains plenty of moisture for the seed. If the growing medium is compacted or consists of particles which are too fine, e.g. clay or sieved peat, then the seed can become waterlogged and drown. For this reason, it is also important not to overly compress your seedling trays when filling them. Vermiculite and Perlite can be useful additions to compost to improve its water buffering and aeration properties.
Temperature
For every vegetable there is an optimum soil temperature for germination, and at that temperature the maximum number of seeds will germinate and in less time than at any other temperature. There are tables which show the ideal temperature for each particular crop but being so precise is unnecessarily finicky for the majority of gardeners. A few guiding principles and notable exceptions are enough to keep in mind.
Generally, the temperature required for germination is that which would be typical of spring in the plant’s natural habitat. Admittedly, it’s hard to say what the natural habitat for domesticated vegetables and flowers that are grown in a range of countries and climates is. However, we can distinguish between things which grow outside here successfully and those which need a protected environment like a polytunnel. A good rule of thumb for the Irish climate is is 18°C for plants which would grow outside and 22°C for those that you would grow under protection.
Generally the warmer the better, but these guidelines are reasonable to attain, and, even if a little heat supplementation is needed, it won’t impact your ESB bill much. An important exception is lettuce which will not germinate at temperatures above 23°C and exposure to higher temperature can make the seed go dormant. This temperature is easily exceeded in the summer months, especially in a polytunnel or sunny windowsill. I germinate lettuce out of direct sunlight in my house as that time of year and move them out as soon as they germinate so they won’t get leggy.
Light
Some seeds need light to germinate. This is the case for lettuce and celery for when sowing these you leave them set on top of your comport or put a tiny sprinkling of compost over them at most.
Inside or Out
The above temperatures can be met outside or in a polytunnel closer to the summer but for some things it is necessary or beneficial to sow them earlier with supplementary heating.
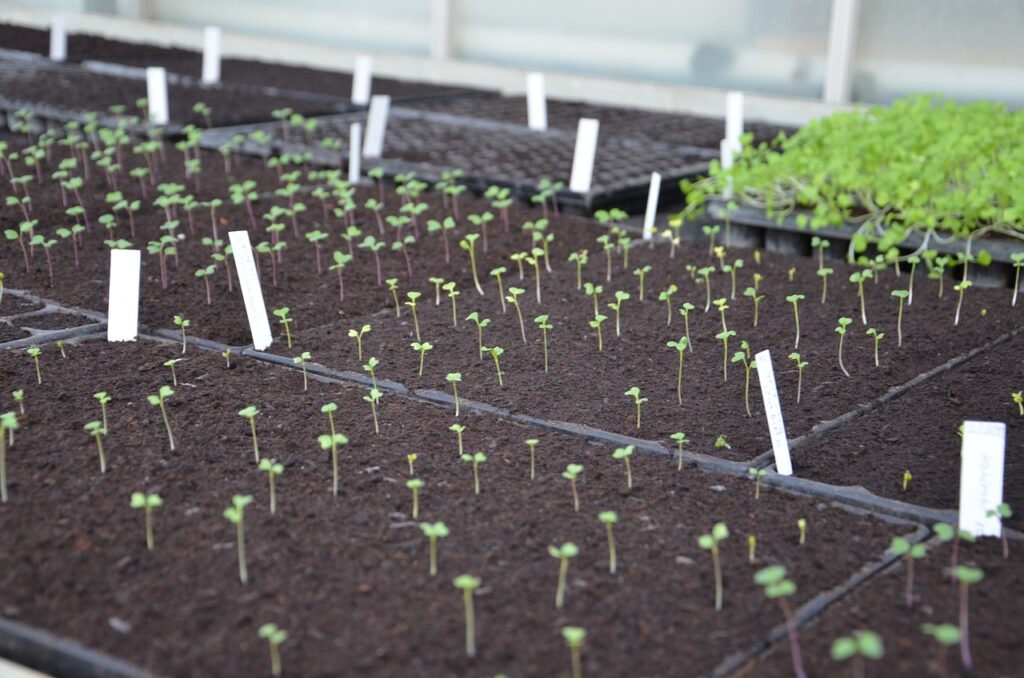
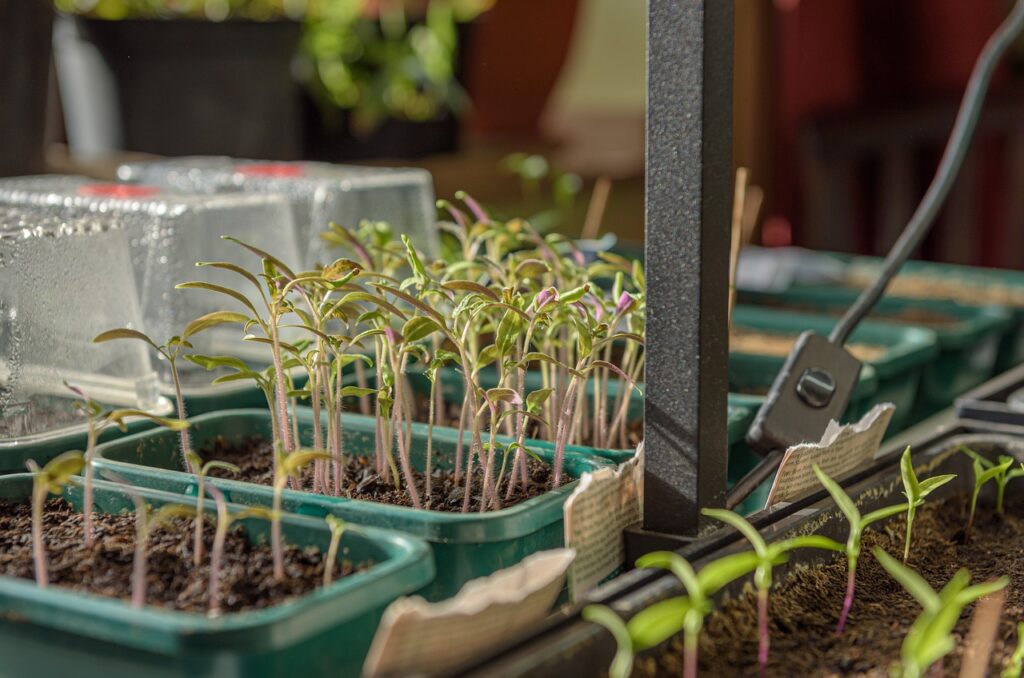
As a general guide the following seeds are best sown inside with supplementary heat starting in late February: Tomatoes, Peppers, Aubergines, Early Cabbage, Calabrese, Lettuce, Cucumber, Melon, Celery, Courgette, Pumpkin. It is possible to sow a bit earlier but keeping the plants going for so long would also need supplementary lighting after they germinate. Personally, I find the extra effort not worth it for a marginal bringing forward of harvest time. An exception might be for chili aficionados as pepper plants are quite slow growing and benefit from the earliest possible start. It is also possible to start onion seed very early and move them out to a polytunnel as they won’t suffer from short day light.
Seeds that can be sown directly in the soil include: Parsnip, Broad Beans, Radish, Leek, Onion, Cabbages, Peas, French Beans, Runner Beans, Carrots, Beetroot, Spinach, Lettuce, Turnip/Swede.
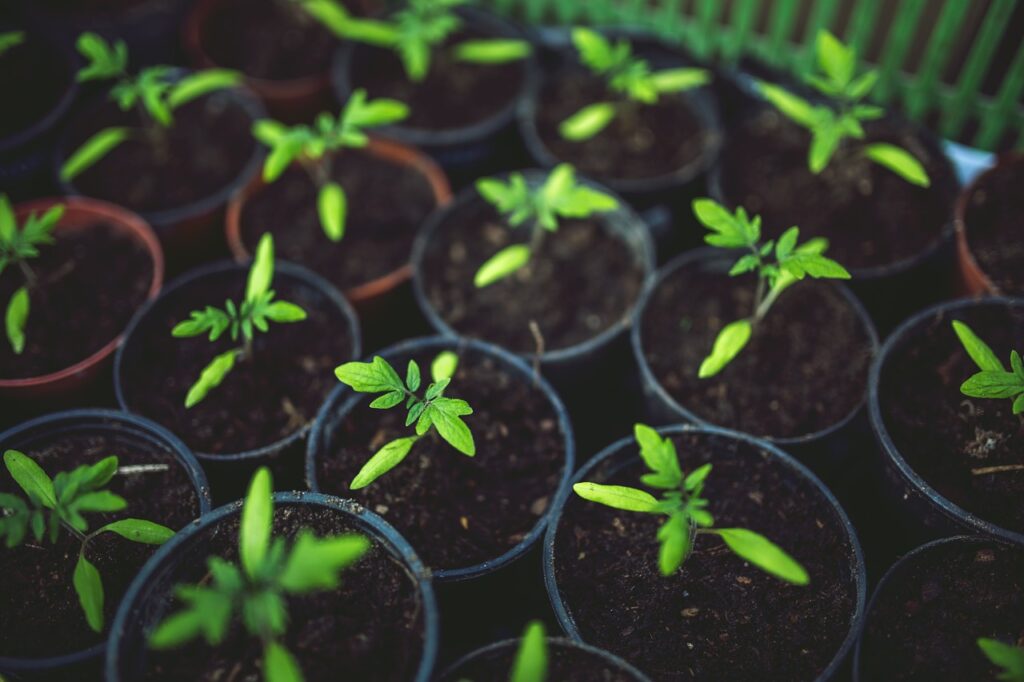
However, for some of these it is definitely advantageous to start them in module trays or pots before planting out. This has a number of benefits. It takes up less space initially and buys time for you to prepare the soil. Seedlings are protected against harsh weather spells and you have full control of watering. Probably most importantly, plants which are already a decent size before going in the ground can take a bit of slug damage, whereas newly emerged seedlings can be finished with one nibble. It is much easier to keep slugs away from your propagation area than the open soil.
For more info on starting off plants indoors using supplemental light & heat, check out our blog.
Sowing Seeds
- As already stressed, always use a good quality compost when not sowing directly in the ground.
- Make sure your trays and pots are clean and free of old compost which can harbour pathogens.
- Getting the right feel for how much compost to fill into a tray can take a bit of practice. Fill the trays to the top and then give them a few taps on your bench – the compost should settle down quite a bit. Then top up with compost and press lightly in. The compost should be firm but not too difficult to push your finger through when making a whole for the seed. The best indication that you have it right is that after watering in your seeds the compost will not compress and sink down to a lower level.
- Make holes for the seed at roughly twice the depth of the seed’s diameter (exceptions of lettuce, celery and other tiny seeds such as thyme which can be placed directly on top of the compost).
- Water gently to avoid compost and seeds getting sloshed out of their cells. A fine rose is needed for your hose or watering can.
- Do not overwater and keep seedlings well ventilated.
- Keep records of sowing dates.
This blog post was written by Paul, who also manages Seeds & Stuff, an independent seed company based in Skibbereen. Paul dedicates his efforts to trialing and identifying varieties that thrive in Ireland's temperate conditions or possess other intriguing qualities. Check out his website here.