Guide to Dripline Irrigation Systems
Guide to Dripline Irrigation Systems
Drip irrigation is one of the most efficient and low-cost methods for watering crops, particularly in small-scale gardens, raised beds, polytunnels, and allotments. It delivers water directly to the root zone of plants through a network of pipes and emitters, minimising water waste and promoting healthier growth.
Why Use Drip Irrigation?
Installing a dripline system offers several key benefits:
- Improved plant health: Consistent moisture levels at the root zone support stronger and more uniform plant growth.
- Efficient water use: Reduces evaporation and deep leaching, ensuring water goes exactly where it’s needed.
- Fewer weeds: Since only the crop rows are watered, surrounding soil stays dry, limiting weed germination.
- Reduced nutrient loss: Prevents over-watering and runoff, helping retain fertiliser in the root zone.
- Lower disease risk: Keeps foliage dry, minimising fungal and bacterial infections.
- Compatible with low-pressure systems: Ideal for use with rainwater harvesting tanks.
- Time-saving: Systems can be automated with a timer, reducing labour and scheduling worries.
- Cost-effective: Affordable to install and maintain with minimal running costs.
Planning Your System
Before installation, careful planning will ensure your system works efficiently:
- Assess water pressure and flow: Ensure your supply (tap, tank, or well) can handle the size of your system.
- Draw a layout: Sketch your growing area, marking out beds and noting where crops will be planted.
- Measure your beds: Accurately record the length and width of each bed to calculate pipe lengths.
What You’ll Need
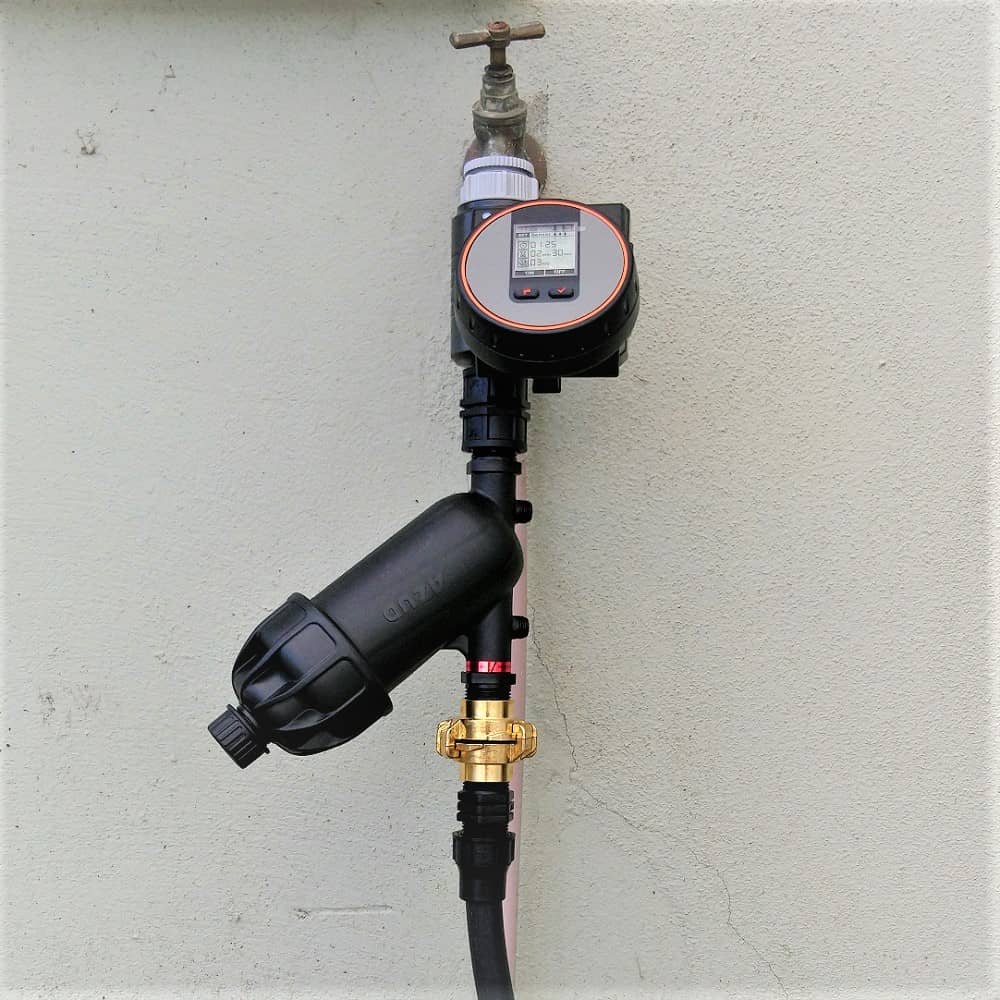
- Water filter: Essential if using rain or well water to prevent clogging from sediment.
- Timer (optional): Enables automatic watering for consistent irrigation.
- Supply pipe (LDPE): Delivers water from the source to the dripper lines. Available in 16mm & 20mm.
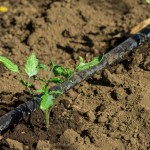
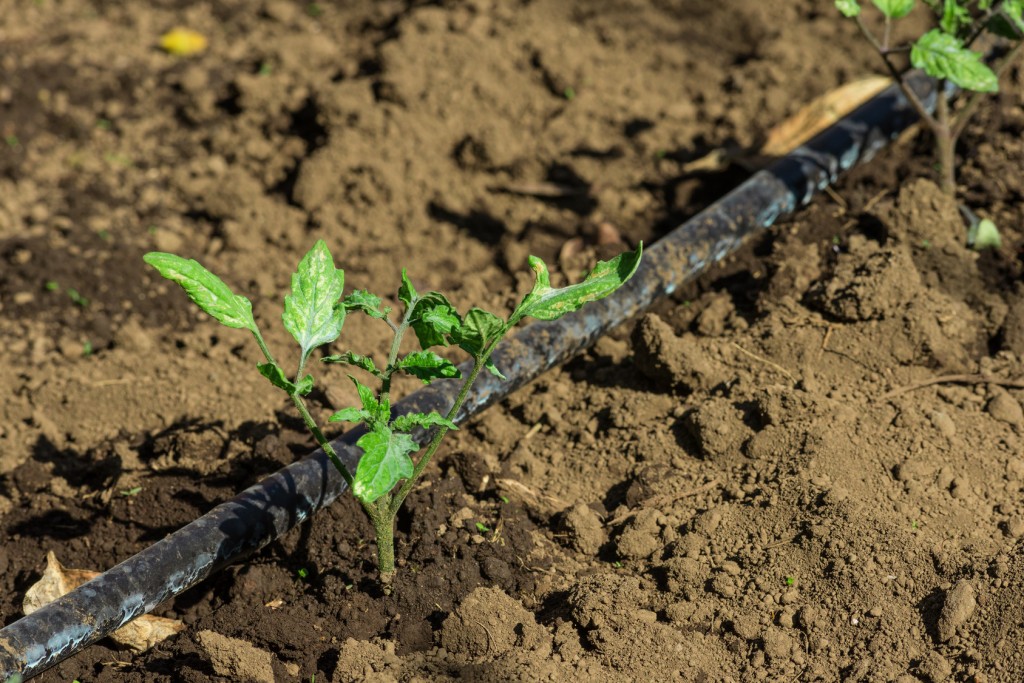
- Inline dripper hose: Contains integrated emitters spaced 33/35cm or 50cm apart. 2L/h flow rate.
- Connectors: Elbows, tees, and joiners used to customise layout. Barbed or lock nut fittings available.
- Inline valves: Allow control of individual zones or bed sections.
- U pins: Galvanised steel pins to secure piping to the ground.

Lock Nut vs Barbed Irrigation Fittings
Watch our video for a detailed comparison of lock nut and barbed irrigation fittings, including the pros and cons of each type, and assembly instructions.
How to Install a Drip Irrigation System
- Connect to the water source
Attach a water filter and timer (optional) to your tap or water tank outlet. - Connect Supply pipe
It’s handy to use GEKA brass fittings (2 x female coupling ¾”) to allow quick disconnection for cleaning the filter and for removing the filter and/or timer - they are both sensitive to frost damage so should be drained and brought inside during the winter months. - Lay the supply pipe
Run this along the main pathways to reach each bed. Cut and shape as needed using elbows and tees. - Attach dripper hose
Connect inline dripper hose to the supply pipe at each bed, laying it alongside plant rows. - Install inline valves (optional)
Add valves where necessary to isolate specific zones. - Secure the piping
Use U pins to keep the pipes in place and prevent shifting. - Flush and test the system
Turn on the system to check for leaks or blockages. Ensure even water distribution from each emitter.
Tips for Success
- Even distribution: Use pressure-compensating drippers for consistent flow in long or sloped beds.
- Maintenance: Clean filters regularly and flush lines at the start and end of each season.
- Winter care: Drain the system before freezing weather to prevent pipe damage.
Common Issues and Fixes
- Uneven watering: Check for pressure loss or blocked emitters. Use shorter runs or pressure-compensating hose.
- Clogged emitters: Clean filter and flush system regularly.
- Low flow: Ensure tank elevation provides adequate pressure, or consider a booster pump.